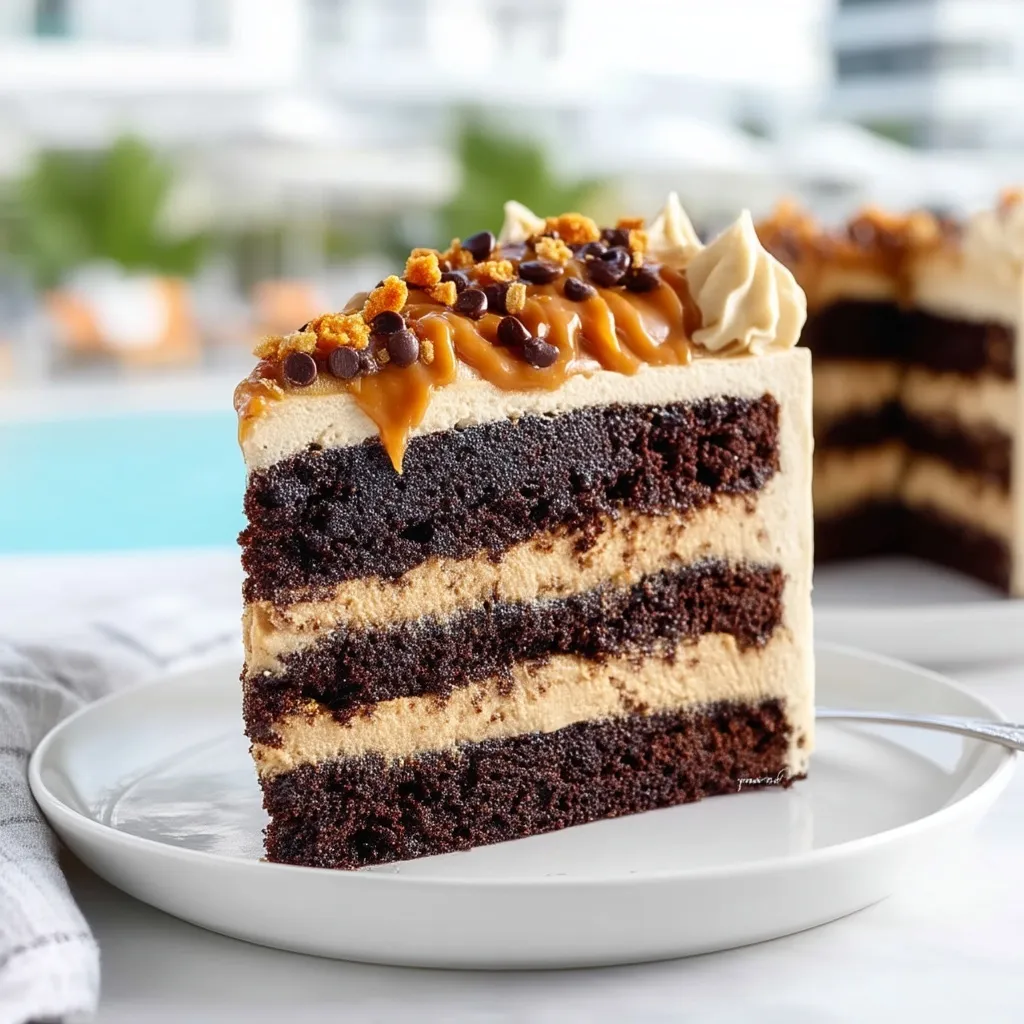
Chocolate Bliss Pie is the kind of chilled dessert that feels rich, creamy, and celebration-worthy without making you spend hours in the kitchen. It starts with a dark chocolate cookie crust, then builds into smooth chocolate filling, fluffy whipped topping, chocolate drizzle, and little bits of chopped chocolate for that bakery-style finish.
This pie is perfect for birthdays, potlucks, weekend desserts, summer gatherings, or anytime you want a no-fuss chocolate dessert that looks impressive on the plate. Each slice has that dreamy mix of crunchy crust, mousse-like filling, creamy topping, and glossy chocolate sauce.
Why You’ll Love This Chocolate Bliss Pie
Chocolate Bliss Pie gives you big dessert-table drama with simple steps. The contrast between the crisp cookie crust and the silky chocolate cream makes every bite feel layered and satisfying.
It is also a great make-ahead dessert because it needs time to chill before slicing. That means you can prepare it earlier in the day or the night before, then decorate it right before serving for a fresh, beautiful finish.
You’ll also love how flexible it is. Keep it classic with chocolate curls and whipped cream, or make it extra indulgent with crushed cookies, candy pieces, caramel drizzle, or a dusting of cocoa powder.
What Makes Chocolate Bliss Pie So Creamy?
The creaminess comes from the balance of softened cream cheese, whipped topping, and melted chocolate. Cream cheese gives the filling body and a slight tang that keeps the pie from tasting overly sweet, while whipped topping lightens the texture so it feels smooth instead of dense.
The key is to let the chocolate cool slightly before mixing it into the filling. If it is too hot, it can soften the cream too much. If it is too cold, it may create little chocolate flecks instead of blending smoothly.
Ingredients
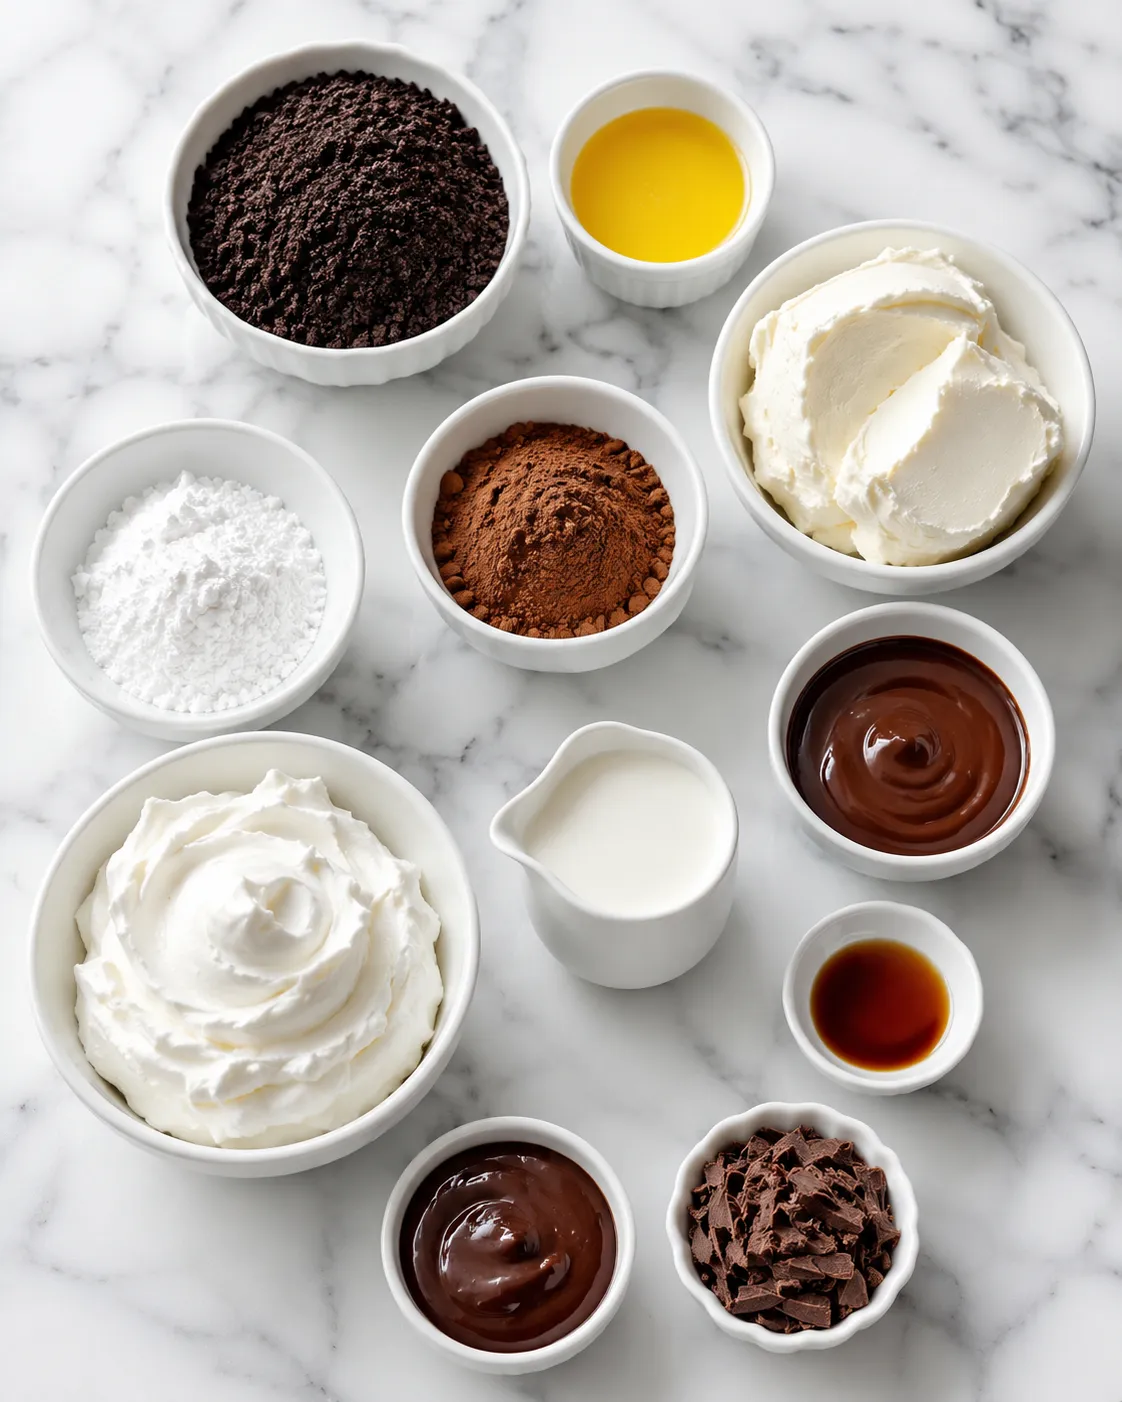
This Chocolate Bliss Pie uses simple dessert staples, but each one helps create the layered texture and rich chocolate flavor that makes the pie so satisfying. Choose good-quality chocolate and a sturdy chocolate cookie crust for the best result.
- Chocolate sandwich cookie crumbs — create a dark, crunchy base that balances the creamy filling.
- Unsalted butter — binds the cookie crumbs together and helps the crust hold its shape.
- Cream cheese — gives the chocolate layer a smooth, creamy body and a mild tang.
- Powdered sugar — sweetens the filling while keeping the texture soft and silky.
- Cocoa powder — deepens the chocolate flavor without making the filling too heavy.
- Melted semi-sweet chocolate — adds richness and gives the pie its true chocolate bliss flavor.
- Vanilla extract — rounds out the sweetness and enhances the chocolate.
- Whipped topping — lightens the filling and also creates the fluffy top layer.
- Heavy cream — helps make a richer whipped topping if you prefer homemade whipped cream.
- Chocolate syrup or ganache — adds a glossy drizzle and extra chocolate flavor.
- Chopped chocolate or chocolate curls — bring texture, decoration, and a pretty finish.
- Extra whipped cream — creates the tall, cloud-like topping on each slice.
How To Make the Chocolate Bliss Pie
Chocolate Bliss Pie is easiest when you work in layers: crust first, filling next, chilling time, then the final toppings. Give the pie enough time in the fridge so it slices cleanly and holds its shape.
Step 1: Prepare the Chocolate Cookie Crust
Crush the chocolate sandwich cookies into fine crumbs. Mix them with melted butter until the texture resembles damp sand. Press the mixture firmly into a pie dish, covering the bottom and sides evenly.
Chill the crust while you prepare the filling. A cold crust helps the butter firm up and gives the pie a stronger base.
Step 2: Make the Chocolate Cream Filling
Beat softened cream cheese until smooth and fluffy. Add powdered sugar, cocoa powder, and vanilla, then mix until everything is well combined.
Pour in the melted chocolate after it has cooled slightly. Beat again until the filling looks glossy, rich, and evenly chocolatey.
Step 3: Fold in the Whipped Topping
Gently fold whipped topping into the chocolate mixture. Use a spatula and fold slowly so the filling stays light and airy.
Avoid overmixing here. The goal is a mousse-like filling that spreads easily but still holds shape once chilled.
Step 4: Fill the Pie Shell
Spoon the chocolate filling into the chilled cookie crust. Spread it evenly with an offset spatula or the back of a spoon.
Smooth the top as much as possible so the whipped topping layer sits neatly over it.
Step 5: Add the Creamy White Layer
Spread whipped topping over the chocolate filling. You can keep it smooth, create soft swirls, or pipe it for a more decorative look.
For a tall, bakery-style pie, add extra whipped cream around the edges or in the center.
Step 6: Chill Until Firm
Refrigerate the pie until it is fully set. A longer chill gives the filling time to firm up, making the slices cleaner and easier to serve.
For best results, cover the pie loosely and keep it cold until you are ready to decorate.
Step 7: Decorate and Serve
Drizzle chocolate syrup or ganache over the top. Add chopped chocolate, chocolate curls, cookie pieces, or a few extra whipped cream swirls.
Slice with a sharp knife, wiping the blade between cuts for the cleanest presentation.
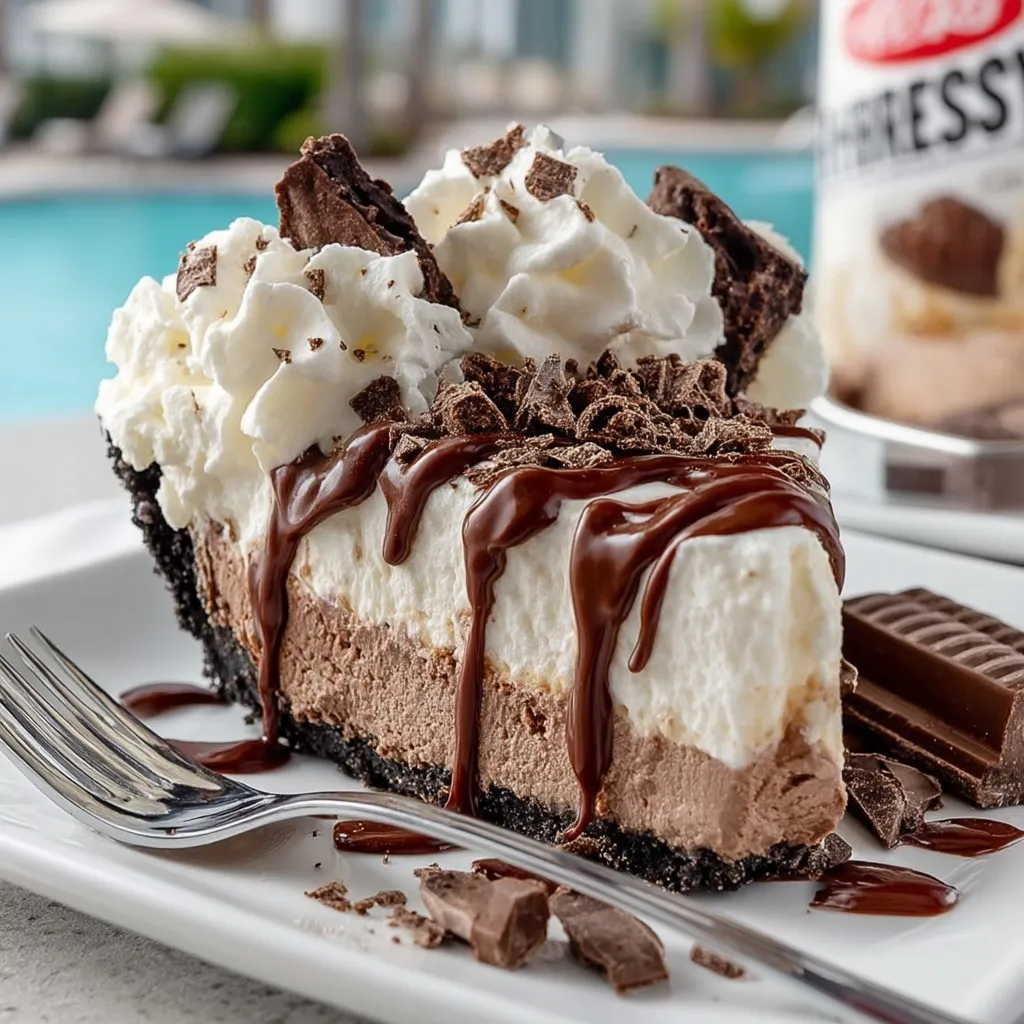
How To Serve Chocolate Bliss Pie
Chocolate Bliss Pie is best served chilled, straight from the refrigerator. The cold filling has a smooth, mousse-like bite, and the crust stays firm enough to hold each slice together.
This pie feeds about 8 people when sliced into standard dessert portions. For a party table with several desserts, you can cut smaller slices and serve 10 people.
It pairs beautifully with hot coffee, iced coffee, cold milk, or a scoop of vanilla ice cream. For a more elegant plate, add a few fresh raspberries or strawberries on the side because the fruit adds brightness against the rich chocolate.
How To Store Chocolate Bliss Pie
Store Chocolate Bliss Pie covered in the refrigerator. It will keep well for up to 4 days, though the crust is usually at its best within the first 2 days.
Use plastic wrap, foil, or a pie carrier to protect the whipped topping from absorbing fridge odors. If you have already decorated the pie with chocolate drizzle, try not to press the cover directly onto the top.
You can freeze this pie, but the texture may change slightly after thawing. To freeze, place the undecorated pie in the freezer until firm, then wrap it tightly. Freeze for up to 1 month. Thaw overnight in the refrigerator, then add whipped cream, chocolate drizzle, and chocolate shavings before serving.
Avoid leaving Chocolate Bliss Pie at room temperature for too long. Since it has a creamy filling and whipped topping, it should be returned to the fridge after serving.
Frequently Asked Questions
Can I make Chocolate Bliss Pie ahead of time?
Yes, Chocolate Bliss Pie is a great make-ahead dessert. Prepare the crust and filling the day before, then keep the pie covered in the refrigerator overnight. Add the whipped cream, chocolate drizzle, and chopped chocolate closer to serving so the top looks fresh.
Can I use a store-bought chocolate crust?
Yes, a store-bought chocolate cookie crust works well when you need a quicker version. A homemade crust usually tastes richer and holds up better, but a prepared crust is a helpful shortcut for busy days.
Why is my Chocolate Bliss Pie too soft?
The pie may be too soft if it was not chilled long enough, if the chocolate was added while too hot, or if the whipped topping was overmixed into the filling. Let the pie chill until fully firm before slicing. Overnight chilling gives the neatest results.
Can I make this pie without cream cheese?
You can, but the texture will be softer and less structured. Cream cheese helps the filling set and gives it a rich cheesecake-like base. If you skip it, use a thicker chocolate pudding-style filling and allow plenty of chilling time.
What toppings work best for Chocolate Bliss Pie?
Whipped cream, chocolate curls, chopped chocolate bars, crushed cookies, mini chocolate chips, cocoa powder, and ganache all work beautifully. For contrast, add fresh berries or a small sprinkle of flaky salt right before serving.
Want More Dessert Ideas?
If you love Chocolate Bliss Pie, you’ll probably enjoy these other rich and creamy desserts:
• Chocolate Tres Leches Cake for a moist, chocolate-soaked dessert with a soft cake texture.
• Texas Chocolate Pecan Pie when you want a chocolate pie with nutty crunch.
• No-Bake Classic Woolworth Cheesecake for another chilled dessert with a creamy filling.
• Reese’s Peanut Butter Cheesecake if chocolate and peanut butter is your favorite combination.
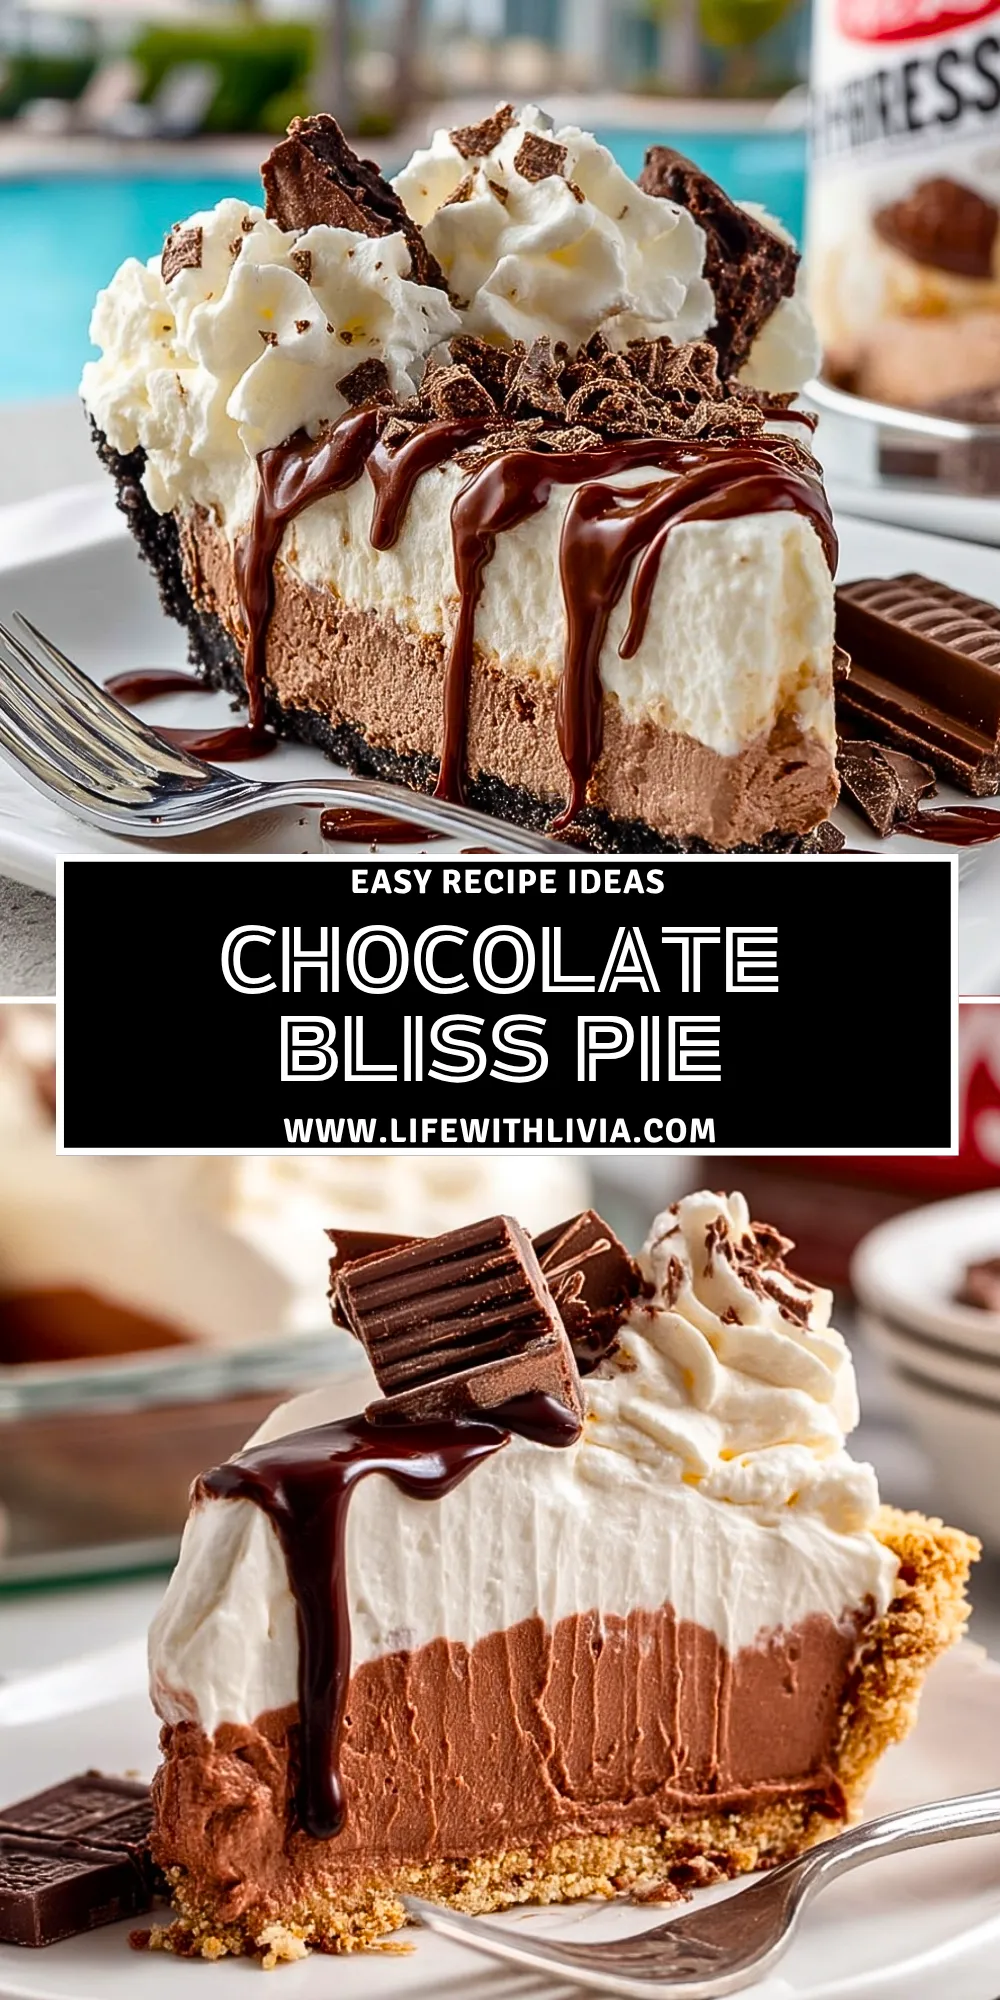
Save This Pin For Later
📌 Save this Chocolate Bliss Pie to your Pinterest dessert board so you can come back to it when you need an easy chocolate dessert for guests, holidays, or a cozy weekend treat.
Let me know in the comments how yours turned out. Did you use chocolate curls, cookie pieces, or extra ganache on top?
I love seeing how readers make these desserts their own. For more daily dessert ideas and cozy food inspiration, follow Life With Livia.
Print Chocolate Bliss Pie
- Total Time: 4 hours 25 minutes
- Yield: 8 slices
- Diet: Vegetarian
Description
Chocolate Bliss Pie is a creamy no-bake chocolate dessert with a crunchy Oreo crust, silky chocolate cream filling, fluffy whipped topping, and rich chocolate drizzle. This easy recipe is perfect for dessert ideas, holiday treats, party food, potluck desserts, and quick make-ahead sweets when you want something rich, chilled, and beautiful without turning on the oven.
Ingredients
1 1/2 cups Oreo cookie crumbs
5 tablespoons unsalted butter, melted
8 ounces cream cheese, softened
3/4 cup powdered sugar
1/4 cup unsweetened cocoa powder
6 ounces semi-sweet chocolate, melted and slightly cooled
1 teaspoon vanilla extract
2 cups whipped topping, divided
1 cup heavy whipping cream
2 tablespoons powdered sugar for whipped cream
1/3 cup chocolate syrup or ganache
1/2 cup chopped chocolate or chocolate curls
Instructions
1. Mix Oreo cookie crumbs with melted butter until evenly moistened, then press firmly into a 9-inch pie dish. Chill the crust for 20 minutes.
2. Beat softened cream cheese until smooth and fluffy.
3. Add powdered sugar, cocoa powder, and vanilla extract, then mix until creamy.
4. Pour in the melted semi-sweet chocolate and beat until the filling is smooth and fully combined.
5. Gently fold in 1 cup of whipped topping until the chocolate filling becomes light and mousse-like.
6. Spread the chocolate filling into the chilled Oreo crust and smooth the top.
7. Whip heavy cream with powdered sugar until soft peaks form, then fold or spread it with the remaining whipped topping over the pie.
8. Refrigerate the pie for at least 4 hours, or overnight for the cleanest slices.
9. Drizzle with chocolate syrup or ganache and finish with chopped chocolate or chocolate curls before serving.
Notes
Do not add hot melted chocolate directly into the cream cheese mixture. Let it cool slightly first so the filling stays smooth, creamy, and evenly blended.
- Prep Time: 25 minutes
- Cook Time: 0 minutes
- Category: Dessert
- Method: No-Bake
- Cuisine: American
Nutrition
- Serving Size: 1 slice
- Calories: 485
- Sugar: 31g
- Sodium: 260mg
- Fat: 34g
- Saturated Fat: 20g
- Unsaturated Fat: 11g
- Trans Fat: 0g
- Carbohydrates: 43g
- Fiber: 3g
- Protein: 6g
- Cholesterol: 72mg
Keywords: Chocolate Bliss Pie, no-bake chocolate pie, Oreo crust pie, chocolate dessert, easy dessert recipe, make-ahead dessert, party dessert ideas