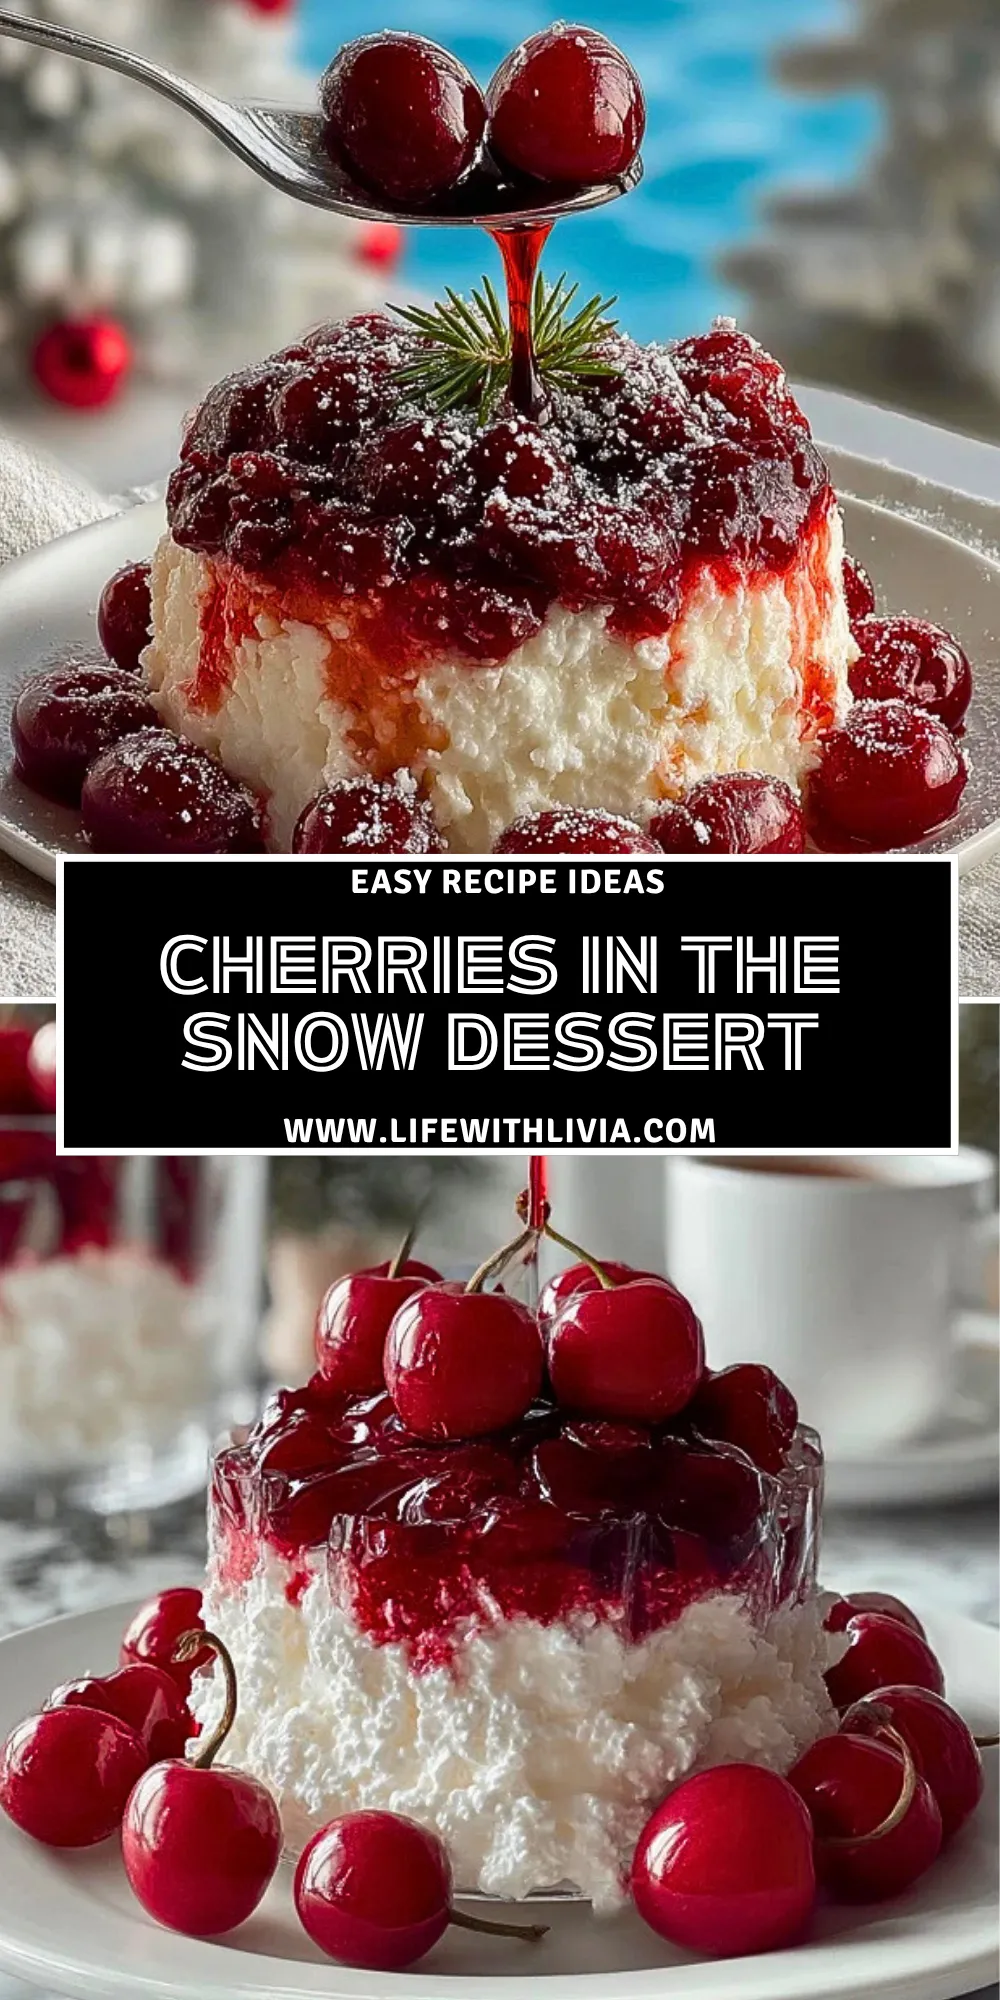
Cherries in the Snow Dessert is one of those retro treats that never really goes out of style. It has a cloud-like creamy base, a bright cherry topping, and a beautiful layered look that feels festive enough for holidays but easy enough for any day you want a chilled dessert on the table.

What makes this dessert so appealing is how little effort it takes to create something that looks this impressive. The contrast between the silky filling, the tender cake pieces, and the glossy cherry layer gives every bite a mix of sweetness, softness, and old-fashioned comfort.
Why You’ll Love This Cherries in the Snow Dessert
This dessert is wonderfully simple, which is a big part of its charm. You do not need complicated baking skills, hard-to-find ingredients, or much hands-on time to pull it together.
It is also a great make-ahead option. Since it needs time to chill, you can prepare it in advance for family gatherings, potlucks, church dinners, or holiday meals without feeling rushed right before serving.
Another reason it stands out is its texture. The creamy filling stays light and fluffy, while the cherry topping adds a glossy fruit finish that keeps every spoonful from feeling too rich.
What Makes Cherries in the Snow Dessert So Special?
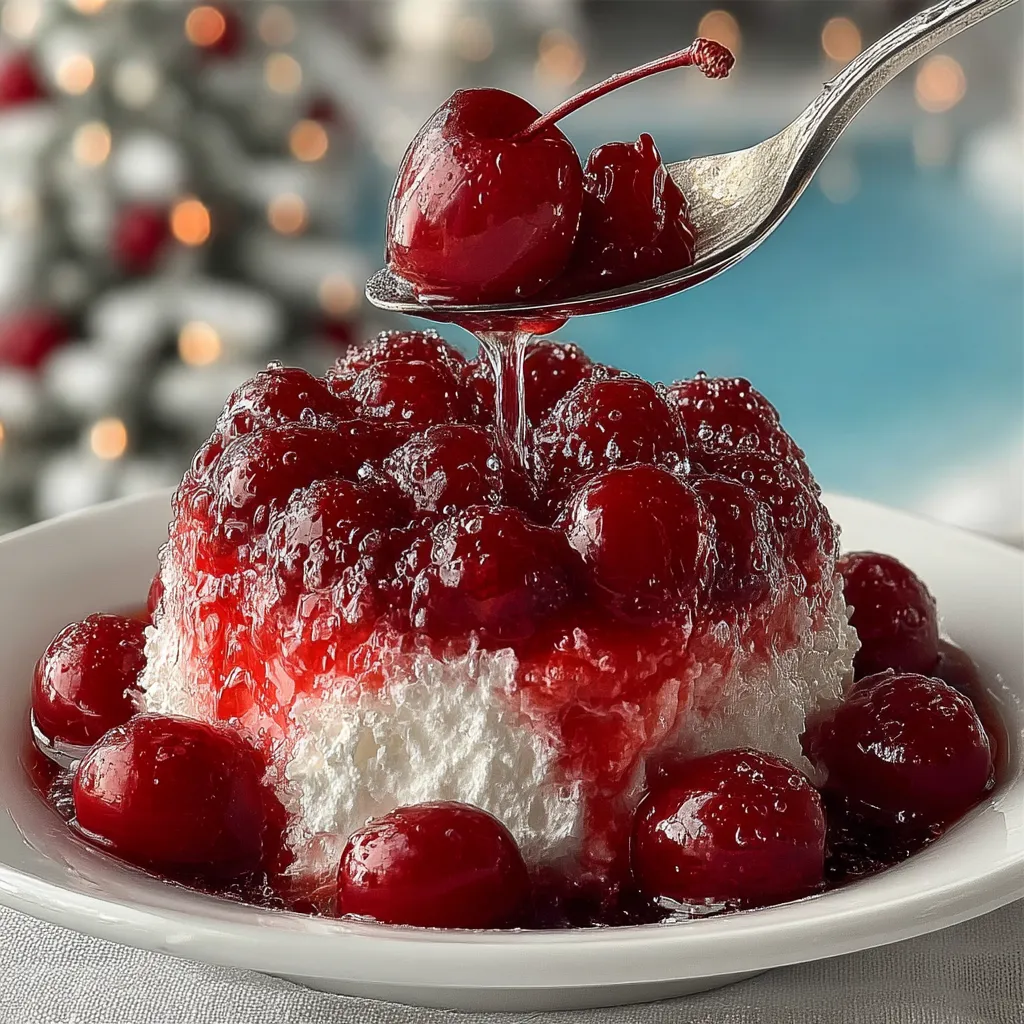
The beauty of Cherries in the Snow Dessert is in its contrast. It combines an airy, creamy layer with juicy cherries and soft cake, creating a dessert that feels both nostalgic and elegant.
It is also incredibly versatile. Some versions lean extra rich with cream cheese, while others keep things lighter and fluffier. No matter which direction you prefer, the end result is a chilled dessert that slices beautifully and always looks striking on the table.
Ingredients
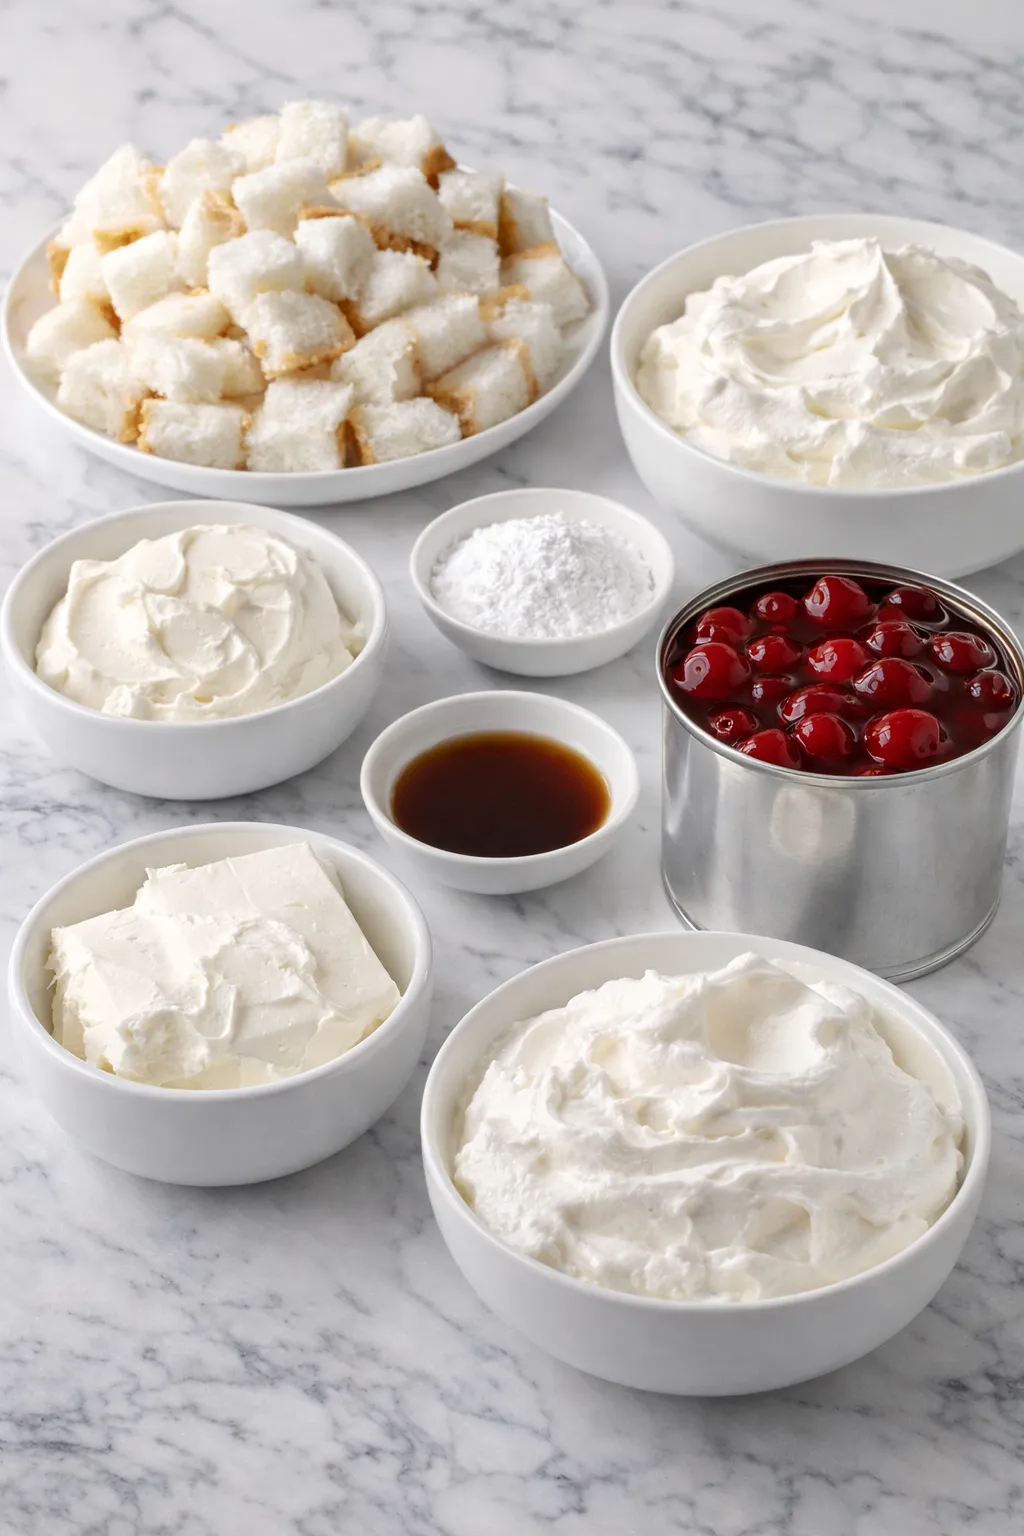
Before you start mixing, it helps to have everything ready and well chilled where needed. This dessert comes together easily, and each ingredient has a specific job in building those soft, creamy, and fruity layers.
- Cream cheese — gives the filling its tangy richness and helps create a smooth, stable base.
- Powdered sugar — sweetens the filling while blending in easily for a silky texture.
- Whipped topping — makes the dessert light, fluffy, and easy to spread.
- Angel food cake — adds the soft, airy layer that keeps the dessert from feeling heavy.
- Cherry pie filling — brings the signature fruity topping, bright color, and glossy finish.
- Vanilla extract — rounds out the filling with warm, sweet flavor.
- Sour cream — adds extra creaminess and a gentle tang that balances the sweetness.
How To Make the Cherries in the Snow Dessert
This is the kind of dessert that rewards a gentle hand and a little patience. Once the layers are assembled and chilled, it turns into a beautiful no-fuss dessert that is easy to serve.
Step 1: Prepare the Creamy Filling
Beat the cream cheese until completely smooth with no lumps remaining. Mix in the powdered sugar, vanilla extract, and sour cream until the filling looks creamy and well combined.
Step 2: Fold in the Whipped Topping
Gently fold the whipped topping into the cream cheese mixture. Use broad strokes rather than aggressive stirring so the filling stays airy and light.
Step 3: Layer the Cake
Arrange pieces of angel food cake in the bottom of your serving dish. You want an even layer that covers the base without packing the cake down too tightly.
Step 4: Add the Cream Layer
Spread the creamy filling evenly over the cake layer. Smooth the top with a spatula so the dessert chills into clean, attractive layers.
Step 5: Finish with the Cherries
Spoon the cherry pie filling over the top and spread it gently from edge to edge. Make sure the cherries are distributed evenly so every serving gets plenty of fruit.
Step 6: Chill Before Serving
Cover the dish and refrigerate until the dessert is fully chilled and set. This resting time helps the layers settle and makes the slices cleaner and more flavorful.
Best Ways to Serve Cherries in the Snow Dessert
Cherries in the Snow Dessert is best served cold, straight from the refrigerator, when the filling is firm and the fruit topping is glossy and fresh. It makes a lovely finish for holiday dinners, spring gatherings, summer cookouts, or any meal where you want an easy dessert that still feels special.
This recipe comfortably feeds about 8 to 10 people, depending on portion size. For a prettier presentation, serve it in neat squares or spoon it into dessert bowls with a few extra cherries on top.
How to Store Cherries in the Snow Dessert
Because this dessert has a creamy filling, it should always be kept refrigerated. Cover the dish tightly with plastic wrap or transfer leftovers to an airtight container so the top stays fresh and the filling does not absorb refrigerator odors.
It is best enjoyed within 3 to 4 days for the freshest texture. Over time, the cake layer may soften more as it absorbs moisture from the filling and cherries, but many people still love that softer, spoonable texture.
Avoid leaving it at room temperature for long stretches, especially during parties or warm-weather gatherings. If you want to make it ahead, assembling it the day before serving usually gives the best flavor and texture.
Frequently Asked Questions
Can I make Cherries in the Snow Dessert a day ahead?
Yes, and it is actually one of the best reasons to choose this dessert. Making it ahead gives the layers time to settle and chill properly, which improves both the texture and the flavor.
Can I use homemade whipped cream instead of whipped topping?
You can, but the dessert may be slightly softer and less stable over time. If you choose homemade whipped cream, make sure it is whipped to a sturdy consistency before folding it into the filling.
Do I have to use angel food cake?
Angel food cake is the classic choice because it is so light and airy, but you can use sponge cake or even pound cake for a richer variation. Just know the dessert will feel heavier if you swap in a denser cake.
Can I use a different pie filling?
Absolutely. Cherry is the traditional favorite, but blueberry, strawberry, or mixed berry fillings also work well. The dessert keeps the same creamy character while taking on a new fruit flavor.
Why does my filling seem too soft?
Usually that happens when the cream cheese was not fully blended first or the dessert did not chill long enough. A smooth base and enough refrigerator time are key for clean slices and a fluffy but stable filling.
Want More Dessert Ideas?
If you love chilled desserts and nostalgic sweets, you might also enjoy these favorites:
- Small Batch Almond Joy Cookies for a chewy coconut-chocolate treat with candy bar flavor.
- Cheesecake Stuffed Chocolate Chip Cookies when you want a rich bakery-style dessert.
- Black Forest Trifle for Christmas for another layered cherry dessert that feels extra festive.
- No-Bake Classic Woolworth Cheesecake if you are craving another cool and creamy old-fashioned favorite.
Save This Pin For Later
📌 Save this recipe to your Pinterest dessert board so you can come back to it any time.
And let me know in the comments how yours turned out. Did you keep it classic with cherries, or try another fruit topping? Did you layer it in one dish or make individual servings?
I love hearing how others make these recipes their own. Questions are welcome too—and for more daily recipe inspiration, visit Life With Livia.
Print Cherries in the Snow Dessert
- Total Time: 4 hours 15 minutes
- Yield: 10 servings
- Diet: Vegetarian
Description
Cherries in the Snow Dessert is a creamy, fruity, easy recipe that feels perfect for holidays, potlucks, and everyday dessert cravings. With fluffy layers, sweet cherry topping, and a light cloud-like filling, this no-bake dessert is one of those simple food ideas that works beautifully when you need an easy dessert, make-ahead treat, party dessert, or classic dessert recipe everyone will remember.
Ingredients
1 package cream cheese, softened
1 cup powdered sugar
1 teaspoon vanilla extract
1 cup sour cream
1 container whipped topping, thawed
1 prepared angel food cake, cut into cubes
1 can cherry pie filling
Instructions
1. Beat the softened cream cheese in a large bowl until completely smooth.
2. Add the powdered sugar, vanilla extract, and sour cream, then mix until creamy and well combined.
3. Fold in the whipped topping gently until the mixture is light and fluffy.
4. Arrange the angel food cake cubes evenly in the bottom of a serving dish.
5. Spread the cream mixture over the cake layer in an even layer.
6. Spoon the cherry pie filling over the top and spread gently to cover.
7. Cover and refrigerate for at least 4 hours, or until fully chilled and set.
8. Slice or spoon into servings and serve cold.
Notes
Do not overmix after adding the whipped topping, or the filling can lose its light texture.
- Prep Time: 15 minutes
- Cook Time: 0 minutes
- Category: Dessert
- Method: No-Bake
- Cuisine: American
Nutrition
- Serving Size: 1 serving
- Calories: 290
- Sugar: 27g
- Sodium: 210mg
- Fat: 12g
- Saturated Fat: 7g
- Unsaturated Fat: 4g
- Trans Fat: 0g
- Carbohydrates: 41g
- Fiber: 1g
- Protein: 4g
- Cholesterol: 25mg
Keywords: cherries in the snow dessert, no-bake dessert, cherry dessert, easy dessert, make-ahead dessert, holiday dessert, potluck dessert, creamy cherry dessert, angel food cake dessert, classic dessert recipe