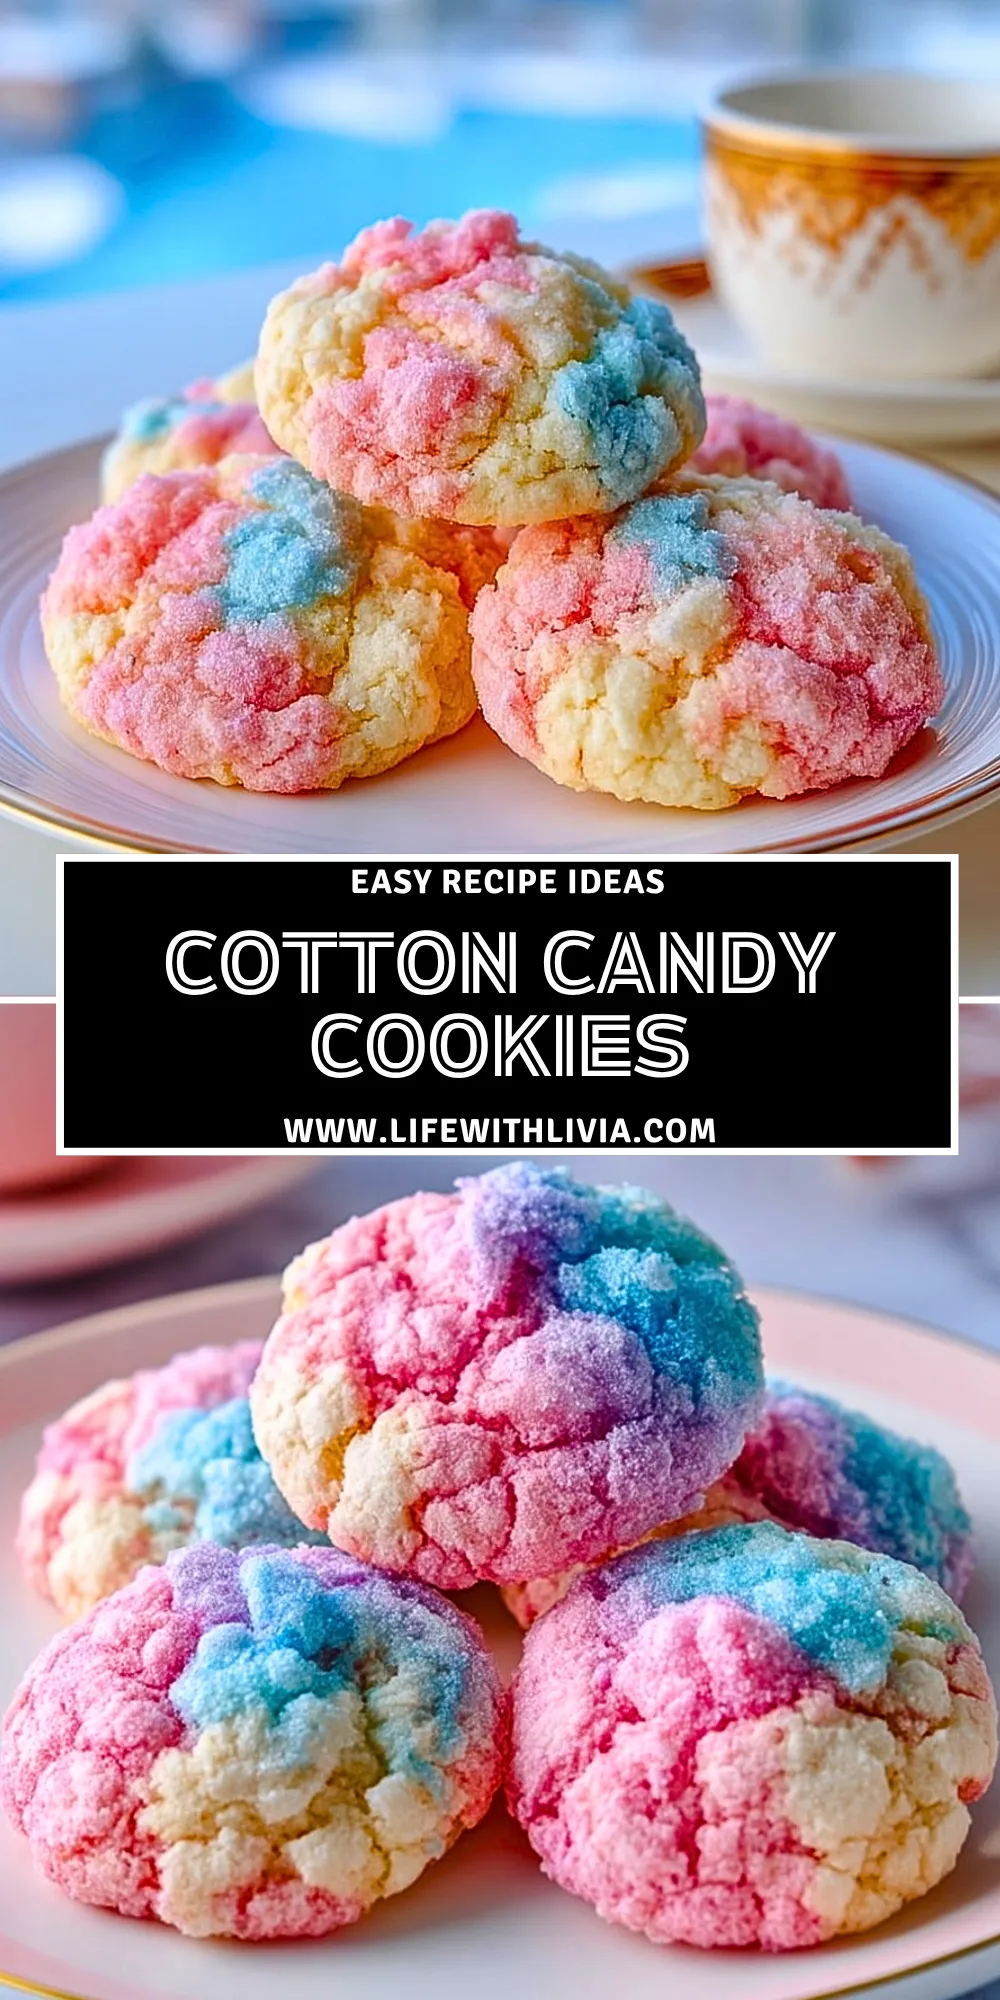
Cotton Candy Cookies are soft, colorful, bakery-style cookies with a playful carnival flavor in every bite. They have tender centers, lightly crisp edges, and dreamy swirls of pink and blue that make them just as fun to look at as they are to eat.
These cookies are perfect for birthdays, bake sales, baby showers, spring parties, or any day that needs a little extra sweetness. The cotton candy flavor gives the dough a nostalgic twist without making the cookies feel heavy, while the cheerful colors turn a simple cookie tray into something memorable.
Why You’ll Love This Cotton Candy Cookies
Cotton Candy Cookies bring together the comfort of a soft sugar cookie and the bright, whimsical flavor of cotton candy. They are sweet, tender, colorful, and easy to customize for different parties or holidays.
They also make a fun baking project because the dough can be tinted in soft pastel shades, then gently combined for that cloud-like cotton candy look. You do not need advanced decorating skills, and every cookie comes out with its own unique swirl pattern.
Another reason to love them is how well they fit special occasions. They feel festive enough for a dessert table but simple enough for an afternoon treat. Kids love the color, adults love the nostalgia, and everyone loves a cookie that feels a little magical.
What Gives Cotton Candy Cookies Their Signature Flavor?
The signature flavor comes from cotton candy flavoring or cotton candy extract. It adds that sweet, airy, candy-shop taste that regular vanilla cannot fully recreate. A little goes a long way, so the goal is to make the cookies taste fun and nostalgic without overpowering the buttery cookie base.
For the best result, use a baking-safe cotton candy flavoring rather than actual cotton candy mixed into the dough. Real cotton candy melts quickly and can add too much moisture or uneven sweetness, while flavoring blends smoothly into the dough and gives every bite the same delicate carnival-style flavor.
Ingredients
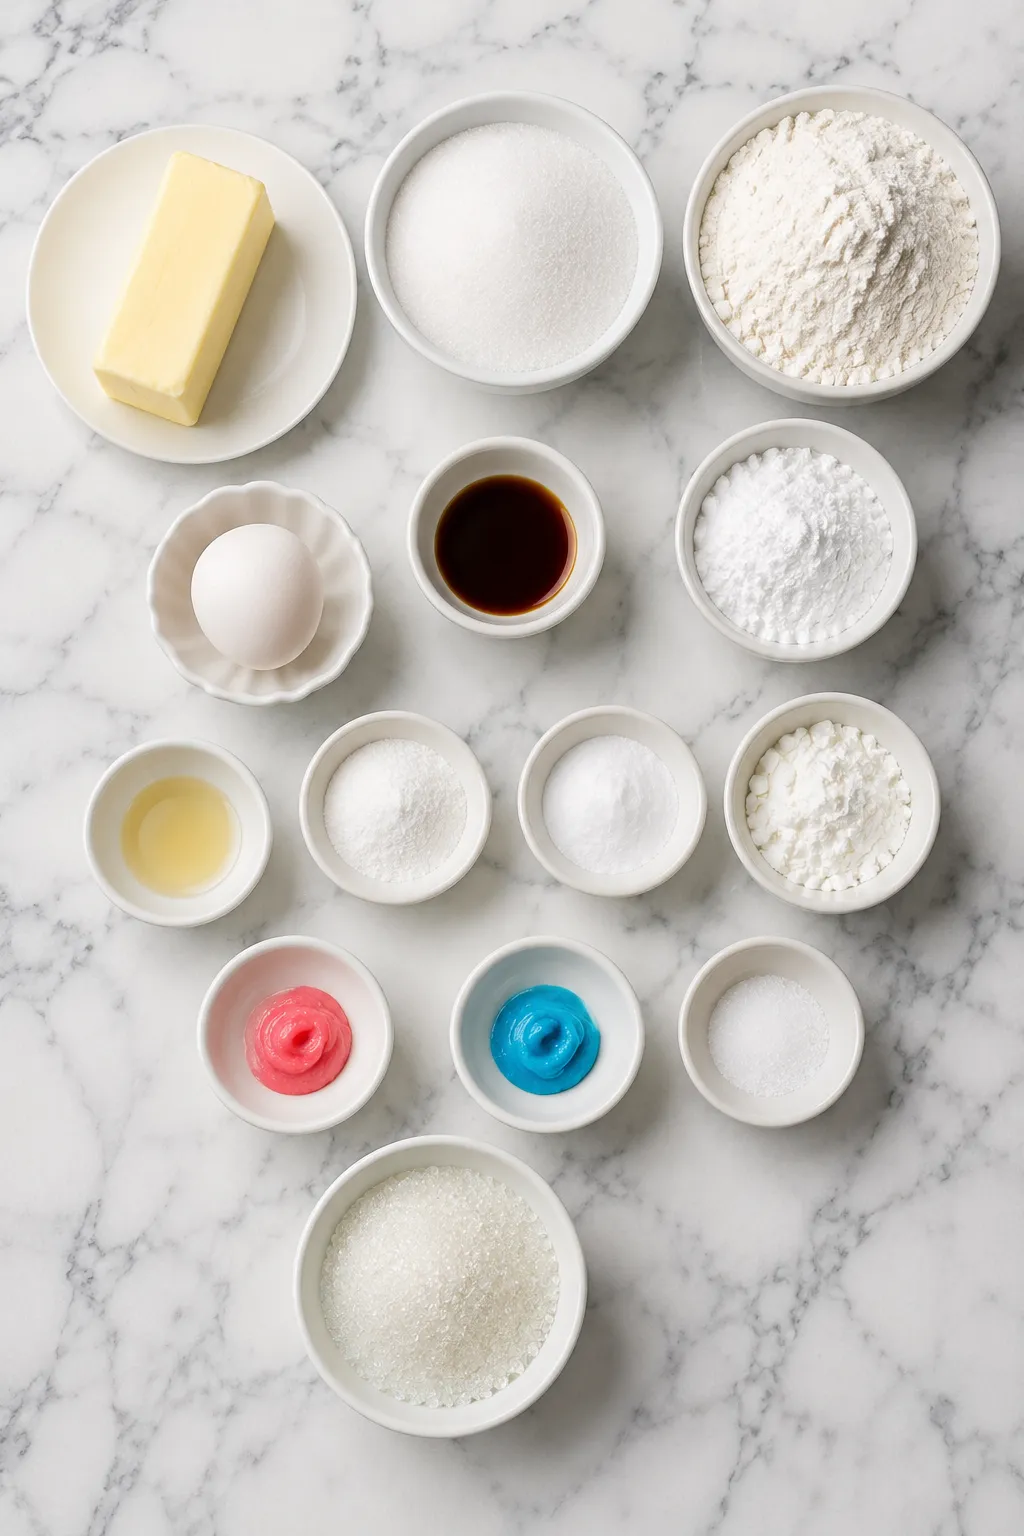
These Cotton Candy Cookies use a soft sugar cookie-style dough as the base, then add cotton candy flavor and pastel colors for that playful look. Each ingredient has a specific job, from structure and softness to flavor and visual charm.
- Unsalted butter — gives the cookies a rich flavor and soft, tender texture while helping the edges bake lightly golden.
- Granulated sugar — sweetens the dough and helps create a delicate cookie crumb.
- Egg — adds structure and helps the cookies hold together without becoming dry.
- Vanilla extract — rounds out the sweetness and supports the cotton candy flavor.
- Cotton candy flavoring — creates the signature carnival-style taste that makes these cookies special.
- All-purpose flour — forms the base of the dough and gives the cookies structure.
- Baking powder — helps the cookies rise slightly and keeps them from feeling too dense.
- Baking soda — supports browning and gives the cookies a softer bite.
- Salt — balances the sweetness and keeps the flavor from tasting flat.
- Cornstarch — helps create a softer, more tender cookie texture.
- Pink gel food coloring — gives part of the dough a soft cotton candy pink shade without watering it down.
- Blue gel food coloring — creates the classic blue cotton candy color and gives the cookies their swirled look.
- Powdered sugar — adds a light crackled finish and extra sweetness on the outside.
- Sanding sugar or edible glitter — optional, but useful for a sparkling bakery-style finish.
How To Make the Cotton Candy Cookies
Making Cotton Candy Cookies is all about keeping the dough soft, coloring it gently, and avoiding overmixing once the pink and blue colors are added. The steps are simple, but the small details help create cookies that bake up soft, pretty, and flavorful.
Step 1: Cream the Butter and Sugar
Start by beating the softened butter and granulated sugar together until the mixture looks pale, fluffy, and smooth. This step adds air to the dough and helps the cookies bake with a tender texture instead of turning heavy.
Scrape down the sides of the bowl so the butter blends evenly. If any dense streaks of butter remain, they can cause uneven spreading in the oven.
Step 2: Add the Egg and Flavorings
Mix in the egg until fully combined, then add the vanilla extract and cotton candy flavoring. Keep the mixer on a moderate speed and stop once the mixture looks creamy.
Avoid adding too much cotton candy flavoring. The flavor should taste light and sweet, not sharp or artificial. If your flavoring is very strong, use the smaller amount recommended on the bottle.
Step 3: Combine the Dry Ingredients
In a separate bowl, whisk together the flour, baking powder, baking soda, salt, and cornstarch. Whisking helps distribute the leaveners evenly so every cookie rises the same way.
Add the dry mixture to the wet mixture gradually. Mix just until the dough comes together. Overmixing can make the cookies tougher, so stop as soon as no dry flour pockets remain.
Step 4: Divide and Color the Dough
Divide the dough into separate portions. Tint one portion pink and another portion blue using gel food coloring. Leave some dough plain if you want a softer, cloud-like look with white, pink, and blue swirls.
Use gel coloring instead of liquid food coloring because gel gives brighter color without adding extra moisture. Knead or fold the color in gently until each portion is tinted.
Step 5: Create the Cotton Candy Swirls
Take small pieces from each colored dough portion and press them together gently. Roll them into cookie dough balls without fully blending the colors. The goal is to create a marbled look, not one solid color.
For a crackled, sparkly finish, lightly roll the dough balls in powdered sugar, sanding sugar, or a mix of both. This gives the cookies a sweet outer coating and a pretty bakery-style finish.
Step 6: Chill the Dough
Place the dough balls on a tray and chill them before baking. Chilling helps the cookies hold their shape, keeps the colors more defined, and prevents too much spreading.
This step is especially helpful if your kitchen is warm or the dough feels sticky. The cookies should feel firm but not rock-hard when they go into the oven.
Step 7: Bake Until Soft and Set
Arrange the chilled dough balls on a parchment-lined baking sheet with space between each one. Bake until the edges look set and the centers still look slightly soft.
Do not wait for the tops to turn deeply golden. These cookies are best when pulled from the oven while the centers still look tender. They will continue setting as they cool on the baking sheet.
Step 8: Cool Before Serving
Let the cookies rest on the baking sheet for a few minutes, then move them to a wire rack. Cooling helps the centers finish setting and keeps the cookies from breaking apart.
Once cooled, the cookies should be soft, sweet, colorful, and lightly chewy with a delicate cotton candy flavor.
How to Serve Cotton Candy Cookies for the Most Fun
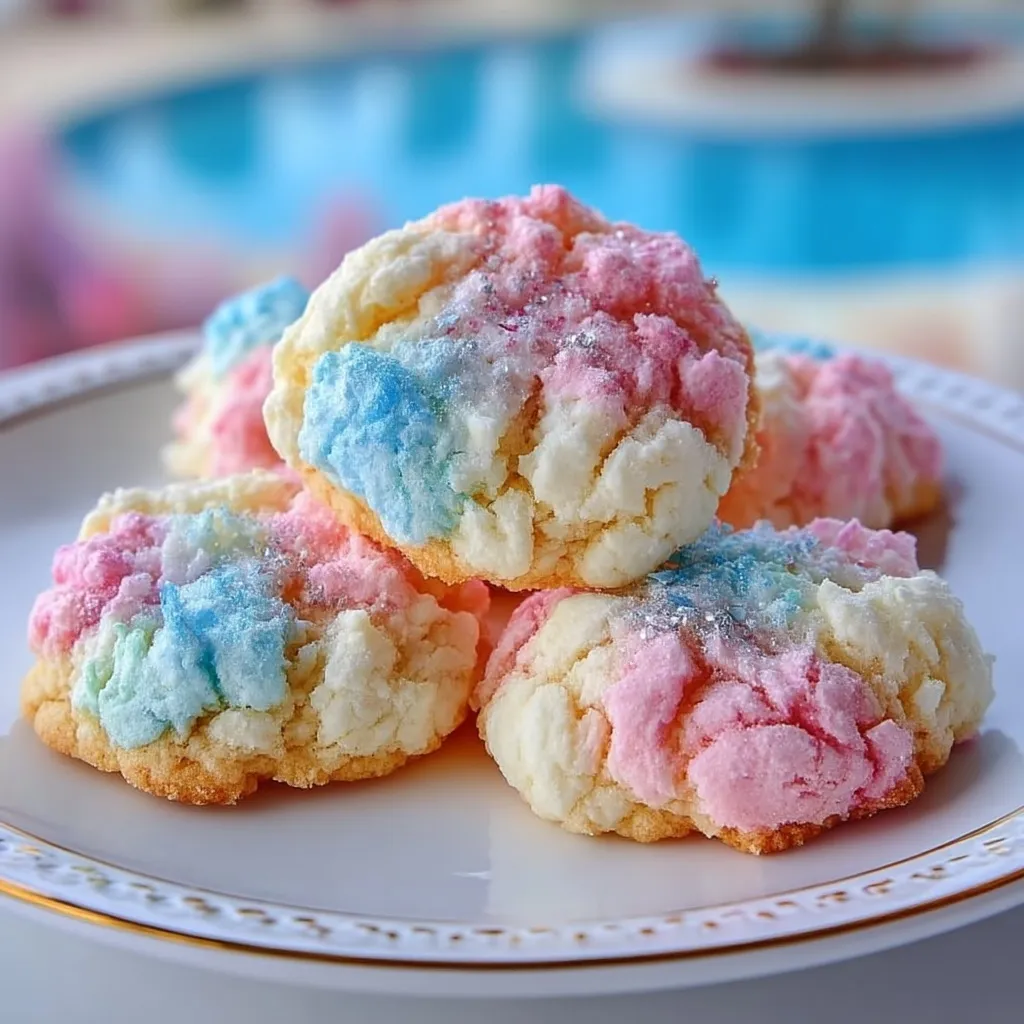
Cotton Candy Cookies are made for cheerful occasions. Serve them on a white platter to make the pink and blue colors pop, or arrange them with pastel sprinkles, paper straws, and candy jars for a carnival-inspired dessert table.
This batch feeds about 18 to 24 people if each person enjoys one cookie, depending on the size you make. For parties with other desserts, one cookie per guest is usually enough. For a cookie-only dessert tray, plan on two per person.
They pair beautifully with cold milk, vanilla milkshakes, strawberry lemonade, hot cocoa, or a simple cup of coffee. For birthdays or showers, tuck them into treat bags with ribbon for an easy take-home dessert.
How to Store Cotton Candy Cookies So They Stay Soft
Store cooled Cotton Candy Cookies in an airtight container at room temperature. They stay soft for several days when sealed well, especially if you place a small piece of sandwich bread in the container to help maintain moisture.
Keep them away from direct sunlight or heat because bright colors can fade slightly and the sugar coating may soften. If you are stacking the cookies, place parchment paper between layers to protect the pretty tops.
For longer storage, freeze the baked cookies in a freezer-safe container. Let them cool completely first, then layer them with parchment paper. Thaw at room temperature before serving.
You can also freeze unbaked dough balls. Freeze them on a tray until firm, then transfer them to a freezer bag. Bake from chilled or slightly thawed, adding a little extra time if needed. This is a great option when you want fresh Cotton Candy Cookies for a party without making the dough the same day.
Frequently Asked Questions
Can I use real cotton candy in the cookie dough?
Real cotton candy is best used as a garnish right before serving rather than mixed into the dough. It melts quickly when exposed to moisture, so it can disappear into the dough and leave behind sticky spots or uneven sweetness. Cotton candy flavoring gives a more reliable flavor throughout the cookies.
Why did my Cotton Candy Cookies spread too much?
The dough may have been too warm, the butter may have been overly soft, or the dry ingredients may have been under-measured. Chilling the dough before baking is one of the best ways to control spreading. Also make sure your baking sheet is cool before adding the next batch.
Can I make the dough ahead of time?
Yes, this dough works well when made ahead. You can chill the dough balls in the refrigerator for a day before baking, or freeze them for longer storage. If the dough has been chilled for a long time, let it sit briefly at room temperature so it is firm but not too hard before baking.
What kind of food coloring works best?
Gel food coloring is the best choice because it gives strong color without thinning the dough. Liquid food coloring can add extra moisture, which may change the texture or cause more spreading. Start with a small amount of gel color and add more only if you want a brighter shade.
How do I keep the colors from blending together too much?
Color the dough portions separately, then gently press pieces together when forming the cookie balls. Avoid kneading the colors into one another once they are combined. A light hand creates the prettiest cotton candy swirls.
Want More Colorful Cookie Ideas?
If you love these Cotton Candy Cookies, you’ll probably enjoy more playful sweets and cookie-style treats from Life With Livia:
- Candy Cane Cookies for a festive striped cookie with classic holiday charm.
- Chocolate Hazelnut Crunch Cookies when you want a richer cookie with a crisp, nutty bite.
- Cheesecake Stuffed Chocolate Chip Cookies for a soft cookie with a creamy surprise inside.
- Cotton Candy Rice Krispies Twists if you want another bright cotton candy dessert for parties.
Save This Pin For Later
📌 Save this recipe to your Pinterest dessert board so you can come back to it whenever you need a colorful cookie idea for birthdays, bake sales, baby showers, or weekend baking.
And let me know in the comments how yours turned out. Did you keep the classic pink and blue colors, or did you try a different pastel combination?
I love hearing how others make these recipes their own. Questions are welcome too, and you can find more daily sweet ideas from Life With Livia.
Print Cotton Candy Cookies
- Total Time: 30 minutes
- Yield: 24 cookies
- Diet: Vegetarian
Description
Cotton Candy Cookies are soft, colorful, and full of nostalgic carnival flavor, making them a fun dessert for birthdays, bake sales, baby showers, and easy party food ideas. This easy cookie recipe has tender centers, lightly crisp edges, pretty pink and blue swirls, and a sweet cotton candy taste that feels playful without being too heavy.
Ingredients
1 cup unsalted butter, softened
1 1/4 cups granulated sugar
1 large egg
2 teaspoons vanilla extract
1 teaspoon cotton candy flavoring
2 3/4 cups all-purpose flour
1 teaspoon baking powder
1/2 teaspoon baking soda
1/2 teaspoon salt
1 tablespoon cornstarch
Pink gel food coloring
Blue gel food coloring
1/2 cup powdered sugar
2 tablespoons sanding sugar or edible glitter, optional
Instructions
1. Preheat the oven to 350°F and line baking sheets with parchment paper.
2. Beat the softened butter and granulated sugar until pale, fluffy, and smooth.
3. Mix in the egg, vanilla extract, and cotton candy flavoring until creamy.
4. In a separate bowl, whisk together the flour, baking powder, baking soda, salt, and cornstarch.
5. Add the dry ingredients to the wet ingredients and mix just until a soft dough forms.
6. Divide the dough into portions, tinting one pink and one blue with gel food coloring. Leave a small portion plain if desired.
7. Gently press small pieces of each dough color together and roll into balls without fully blending the colors.
8. Roll each dough ball lightly in powdered sugar and sanding sugar if using.
9. Chill the dough balls for 20 to 30 minutes so the cookies hold their shape.
10. Bake for 9 to 11 minutes, until the edges are set and the centers still look soft.
11. Let the cookies cool on the baking sheet for a few minutes, then transfer to a wire rack.
Notes
Do not overmix the dough after adding the flour or after combining the colored dough pieces. Overmixing can make the cookies tough and can blur the pink and blue swirls instead of keeping that pretty cotton candy look.
- Prep Time: 20 minutes
- Cook Time: 10 minutes
- Category: Dessert
- Method: Baking
- Cuisine: American
Nutrition
- Serving Size: 1 cookie
- Calories: 165
- Sugar: 13g
- Sodium: 85mg
- Fat: 7g
- Saturated Fat: 4g
- Unsaturated Fat: 3g
- Trans Fat: 0g
- Carbohydrates: 24g
- Fiber: 0g
- Protein: 2g
- Cholesterol: 25mg
Keywords: Cotton Candy Cookies, cotton candy cookie recipe, colorful cookies, birthday cookies, easy cookie recipe, party dessert, fun dessert ideas