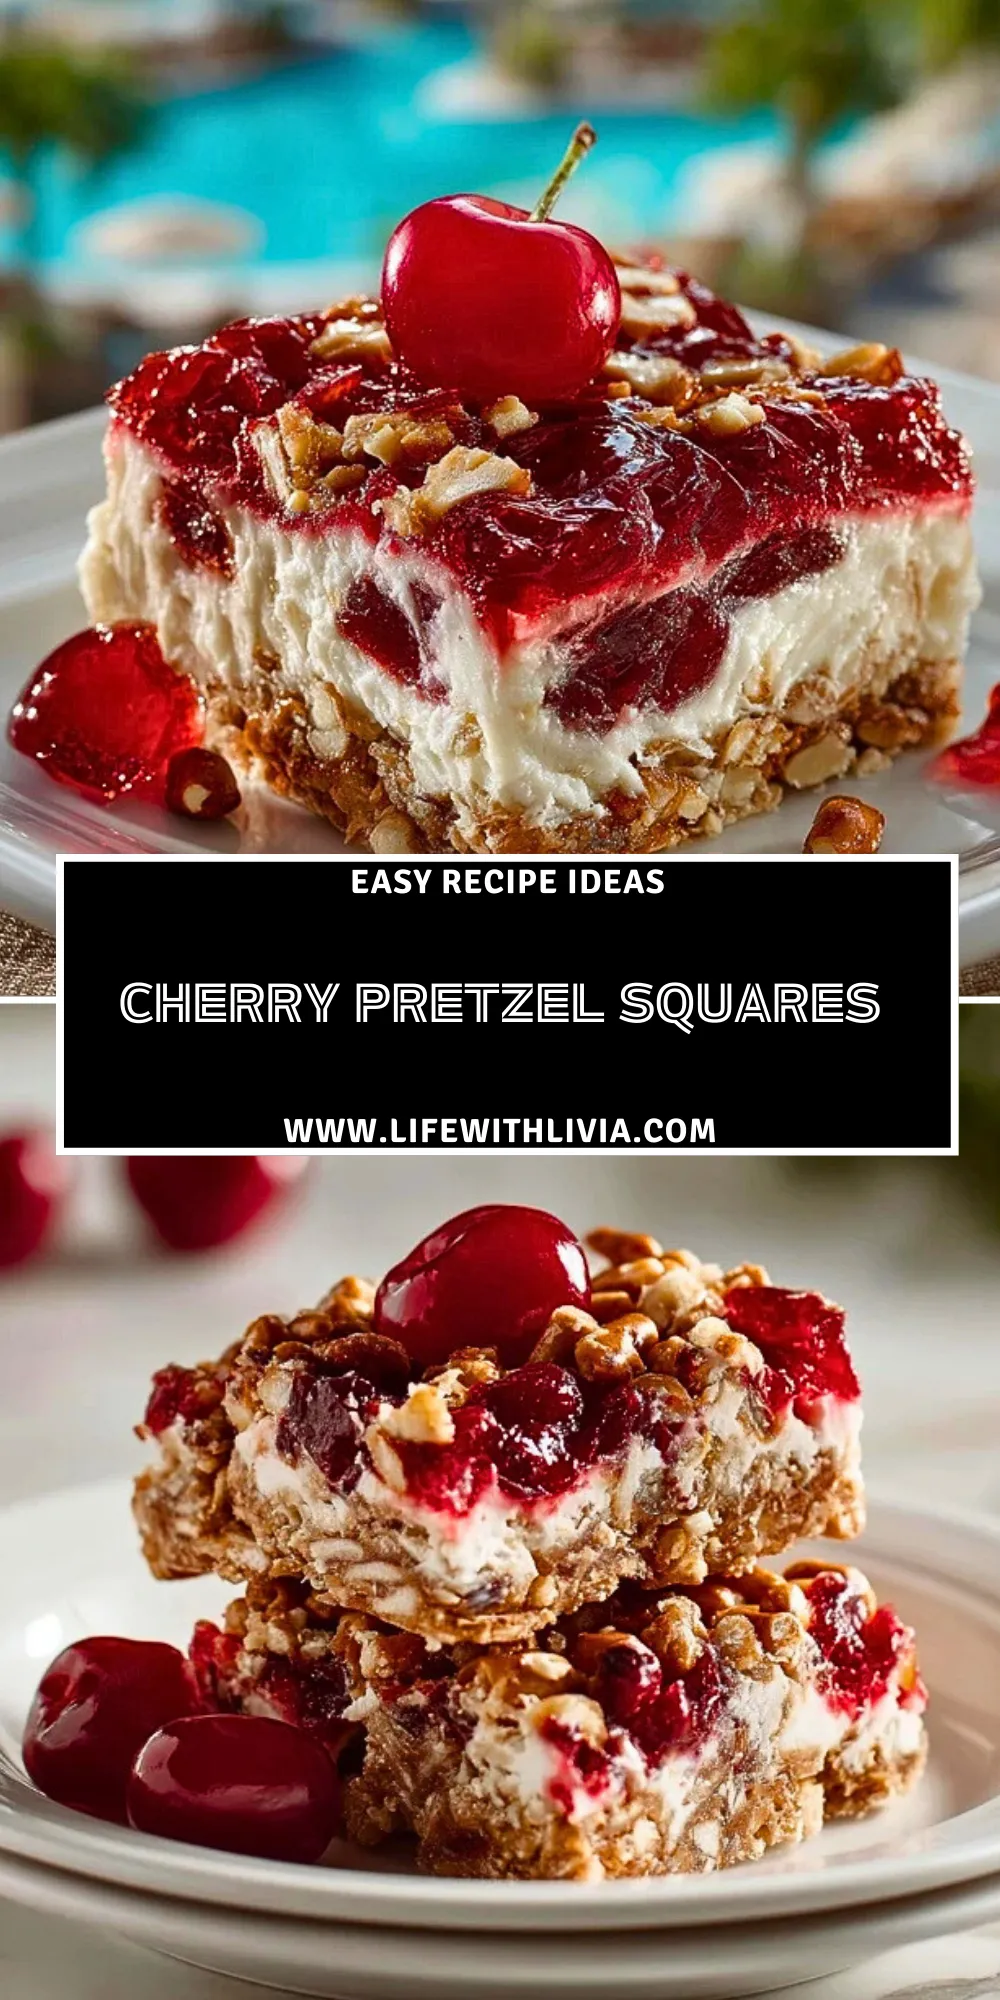
With layers of salty crunch, creamy filling, and sweet cherry topping, Cherry Pretzel Squares are the ultimate retro dessert with a refreshing twist. Each bite offers a satisfying mix of textures and flavors: a buttery pretzel crust, a tangy cream cheese layer, and a bright cherry gelatin topping that sparkles in the light.

This chilled treat is perfect for summer barbecues, potlucks, or whenever you want a no-fuss, make-ahead dessert that brings a nostalgic flair. It looks as good as it tastes and serves beautifully for any casual or festive gathering.
Why You’ll Love This Cherry Pretzel Squares Recipe
Cherry Pretzel Squares are a crowd-pleaser for a reason. The balance of sweet and salty is irresistible. The pretzel crust adds a crispy contrast to the smooth, creamy filling, while the cherry topping gives it that fruity finish we all crave. It’s a make-ahead dessert that’s easy to slice, serve, and share.
What Kind of Pretzels Should I Use?
Use salted pretzel twists or sticks and crush them into small pieces—not crumbs. You want texture in the crust, so avoid over-processing them. A mix of fine and chunky pieces gives the best result. Skip flavored pretzels as they can clash with the dessert’s sweet elements.
Ingredients for the Cherry Pretzel Squares
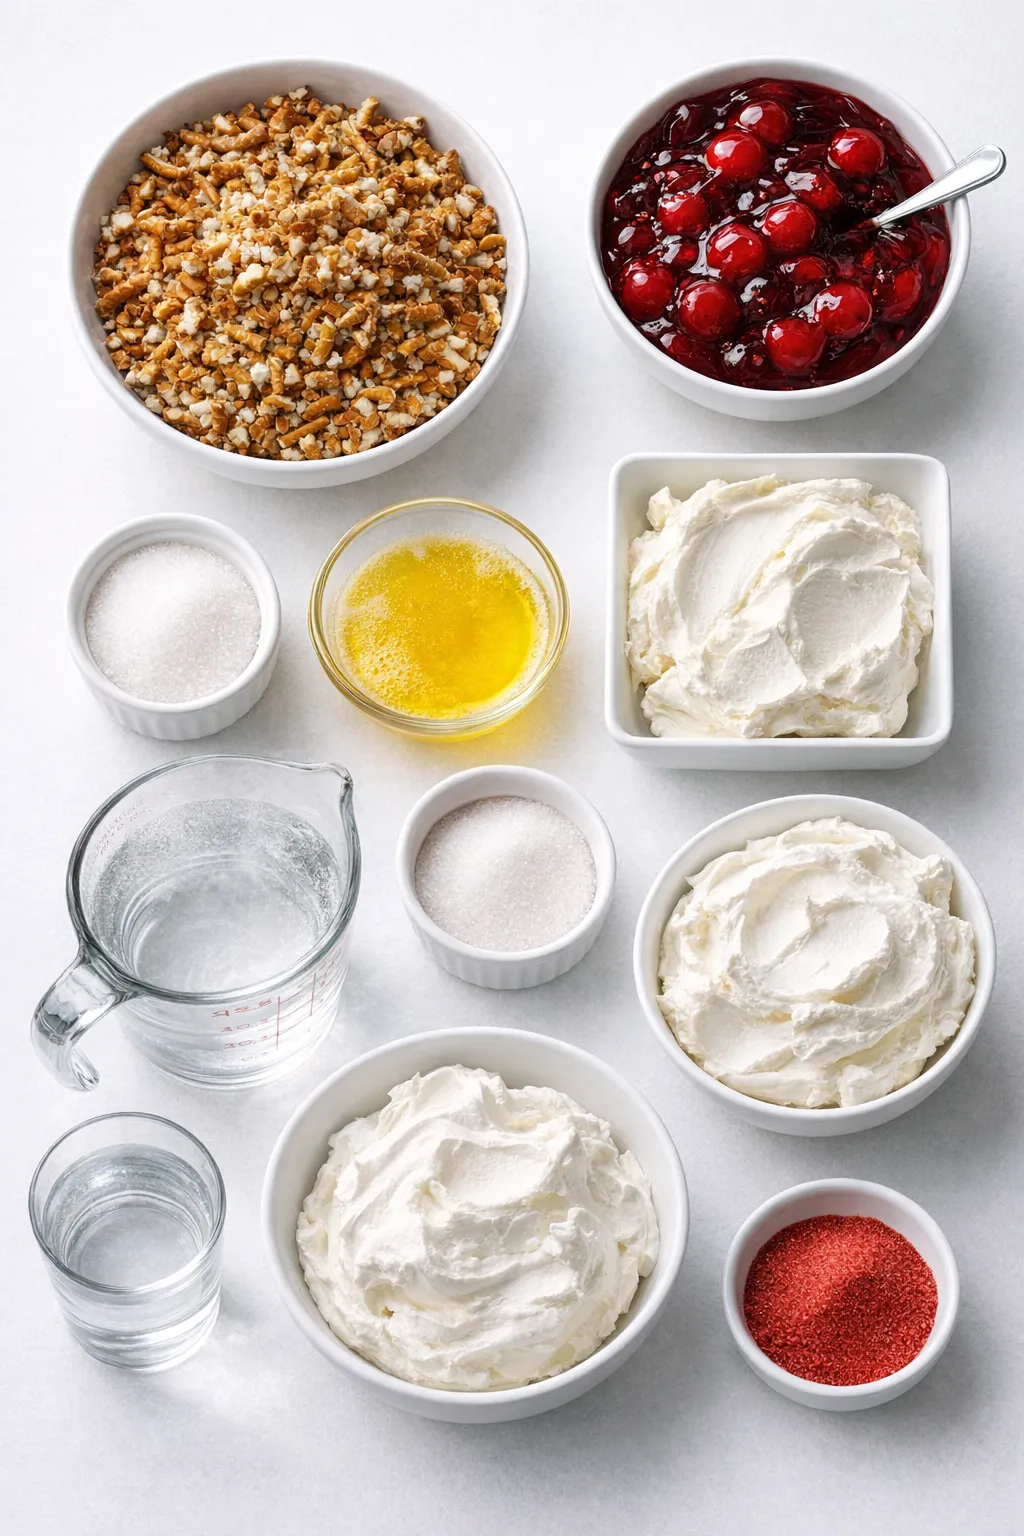
Salted Pretzels: These give the crust a salty, crunchy base that plays perfectly against the sweet layers.
Unsalted Butter: Used to bind the crust together and adds a rich, buttery flavor without making it overly salty.
Granulated Sugar: Adds sweetness to the crust and cream layer. It balances the tang from the cream cheese.
Cream Cheese: The creamy middle layer needs this for structure and tang.
Whipped Topping (like Cool Whip): Lightens up the cream cheese layer with fluffiness.
Cherry Gelatin: Brings the cherry flavor and that iconic glossy top.
Boiling Water: Needed to dissolve the gelatin completely.
Cold Water: Helps the gelatin set properly.
Canned Cherry Pie Filling: Adds texture, color, and juicy cherry goodness to the top layer.
How To Make the Cherry Pretzel Squares
Step 1: Prep the Crust
Preheat your oven to 350°F. In a medium bowl, combine 2 cups of crushed salted pretzels, 3/4 cup unsalted melted butter, and 3 tablespoons granulated sugar. Press firmly into a 9×13-inch baking dish. Bake for 10 minutes. Let it cool completely.
Step 2: Make the Cream Layer
Beat 8 oz softened cream cheese with 1/2 cup granulated sugar until smooth. Fold in 8 oz whipped topping gently until fully incorporated. Spread this evenly over the cooled pretzel crust. Chill for 30 minutes.
Step 3: Prepare the Cherry Layer
In a large bowl, dissolve a 6 oz packet of cherry gelatin in 2 cups boiling water. Stir in 1 1/2 cups cold water. Let it cool to room temperature, then stir in one 21 oz can of cherry pie filling.
Step 4: Layer and Chill
Pour the cherry gelatin mixture gently over the chilled cream layer. Refrigerate for at least 4 hours or until fully set.
Serving Cherry Pretzel Squares
This dessert yields 15 squares and can easily feed 12 to 15 people. It slices cleanly when cold, making it ideal for serving at parties or picnics. Add a dollop of whipped cream or a fresh cherry on top if you’re feeling fancy.
Storing Cherry Pretzel Squares
Store leftovers covered in the fridge for up to 3 days. To prevent the pretzel crust from softening, keep the dish tightly wrapped with plastic or use an airtight container. This recipe isn’t freezer-friendly as the gelatin and cream layers may separate after thawing.
Frequently Asked Questions
1. Can I make Cherry Pretzel Squares the night before?
Absolutely! In fact, it’s best to make them ahead so the layers can set. Overnight chilling gives the best texture.
2. Can I use homemade whipped cream instead of whipped topping?
Yes, but stabilize it with a bit of cornstarch or gelatin to prevent it from weeping.
3. Can I use a different fruit filling?
Sure! Strawberry or raspberry pie filling works well. Just pair with matching gelatin for the best color and flavor.
4. My crust came out soggy. What happened?
Be sure the crust is fully cooled before adding the cream layer. Also, spread the cream layer all the way to the edges to create a seal.
5. Is this gluten-free?
No, but you can make it gluten-free by using gluten-free pretzels and confirming all other ingredients are certified gluten-free.
Want More Dessert Ideas with a Twist?
If you love these Cherry Pretzel Squares, you’ll probably enjoy these other fruity or nostalgic dessert ideas:
- Cream Cheese Cranberry Loaf
- Mini Pecan Pies
- Apple Brownies: Simple Autumn Treat
- No-Bake Moose Farts
- Apple Pie Egg Rolls
Save This Pin For Later
📌 Save this recipe to your Pinterest dessert board so you can come back to it any time.
And let me know in the comments how yours turned out. Did you swap in raspberries? Add a pretzel twist on top? I love hearing your creative takes on these recipes.
You can also follow along for more no-bake, nostalgic, and crowd-pleasing desserts on Life With Livia.
Print Cherry Pretzel Squares
- Total Time: 4 hours 35 minutes
- Yield: 15 squares
- Diet: Vegetarian
Description
With layers of salty crunch, creamy filling, and sweet cherry topping, Cherry Pretzel Squares are the ultimate retro dessert with a refreshing twist. This quick dessert idea combines the magic of sweet and salty, making it a go-to for summer gatherings, easy dinner parties, or whenever you need a chilled make-ahead treat. Whether you’re looking for picnic food ideas or a crowd-pleasing potluck dessert, this easy recipe delivers on taste, texture, and nostalgia.
Ingredients
2 cups crushed salted pretzels
3/4 cup unsalted butter, melted
3 tablespoons granulated sugar
8 ounces cream cheese, softened
1/2 cup granulated sugar
8 ounces whipped topping
6 ounces cherry gelatin
2 cups boiling water
1 1/2 cups cold water
21 ounces canned cherry pie filling
Instructions
1. Preheat oven to 350°F. In a medium bowl, mix crushed pretzels, melted butter, and 3 tablespoons sugar. Press into a 9×13-inch baking dish.
2. Bake crust for 10 minutes. Remove and let cool completely.
3. In a separate bowl, beat cream cheese and 1/2 cup sugar until smooth. Fold in whipped topping.
4. Spread cream layer over cooled crust, sealing to the edges. Refrigerate for 30 minutes.
5. In another bowl, dissolve cherry gelatin in boiling water. Stir in cold water and let cool to room temperature.
6. Mix in cherry pie filling, then gently pour over cream layer.
7. Chill for at least 4 hours or until fully set. Slice and serve chilled.
Notes
Be sure the crust cools fully before adding the cream layer to prevent sogginess.
Use full-fat cream cheese for best texture.
Gently spread layers to edges for even results and clean slices.
- Prep Time: 25 minutes
- Cook Time: 10 minutes
- Category: Dessert
- Method: No-bake, oven-baked crust
- Cuisine: American
Nutrition
- Serving Size: 1 square
- Calories: 290
- Sugar: 21g
- Sodium: 310mg
- Fat: 18g
- Saturated Fat: 9g
- Unsaturated Fat: 8g
- Trans Fat: 0g
- Carbohydrates: 31g
- Fiber: 1g
- Protein: 2g
- Cholesterol: 30mg
Keywords: cherry pretzel dessert, picnic dessert, potluck dessert, sweet and salty dessert